Overlay Magic Menu for AffinityPVII is the leader in creative extensions for Dreamweaver
Buy ($95) | Examples | User Guide | CSS Guide | Tutorials
Learn how to replace the default DMM menu in a core Affinity page with an Overlay Magic menu.
This technique will work for any of the 5 core Affinity layouts. In the near future, we will be releasing tutorials for Affinity Theme Packs.
1. Create an Affinity Page
For this tutorial, we used Layout 5, but you can use any of the other layouts.
In your defined local site, create a folder and name it affinity-omm.
Open the Affinity interface (File > New PVII Page Pack > CSS Affinity)
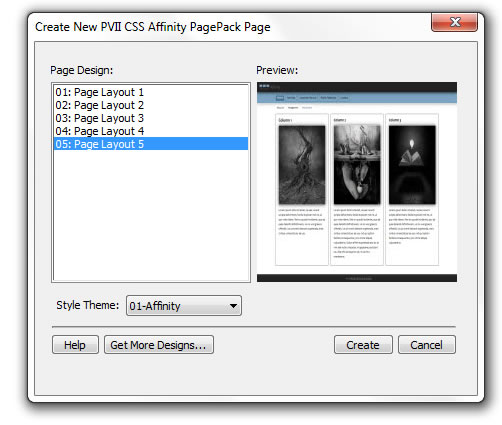
Select 05: Page Layout 5
Select Style Theme 01-Affinity
Click Create
Save the page as workpage.htm in your affinity-omm folder.
2. Remove the default DMM Menu
Open the Remove DMM Interface:
Commands > Studio VII > Drop Menu Magic by PVII > Remove Drop Menu Magic
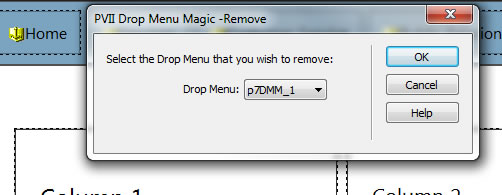
Click OK
A confirmation will pop up.
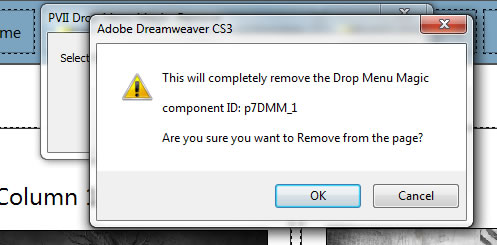
Click OK
3. Remove the Menu Container
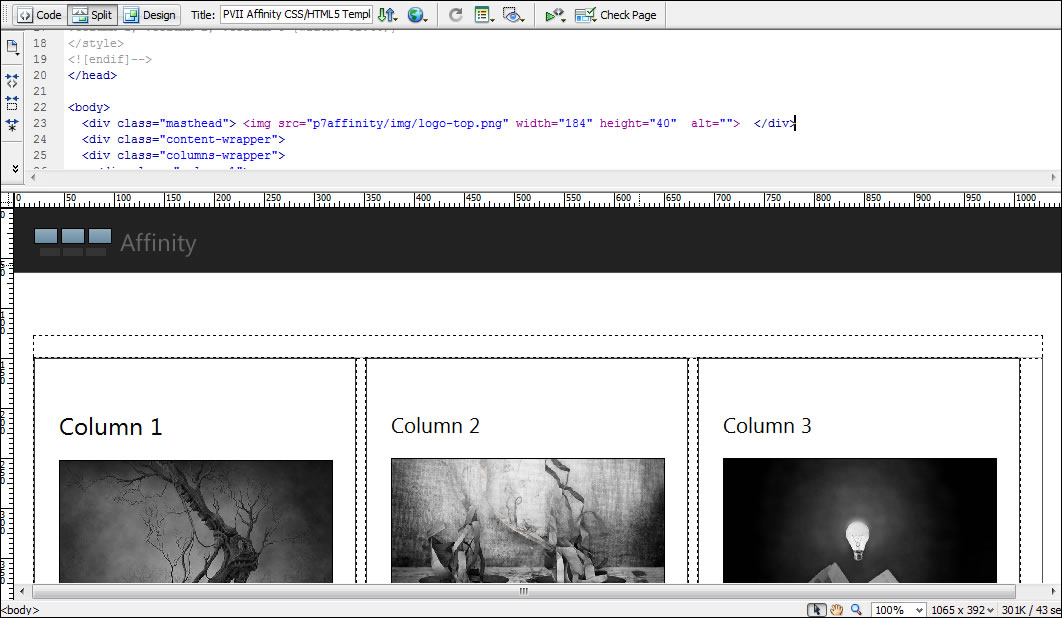
Place your cursor inside the blue bar that formally held the DMM menu and switch to Split View.
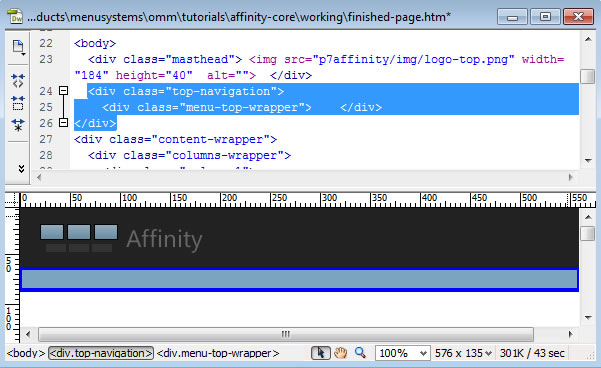
On the Tag Selector bar, along the bottom of your Dreamweaver window, select:
<div.top-navigation>
Press your delete/DEL key to delete the DIV.
Your page will now look like this:
4. Establish an Insertion Point for the Overlay Menu
Still in Split View, make a new line just below the opening <body> tag and place your cursor in the new line:
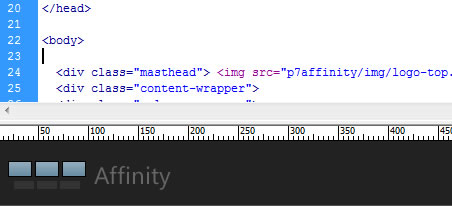
5. Insert an OMM Widget
Open the OMM interface, configure your menu, and set your preferred options.
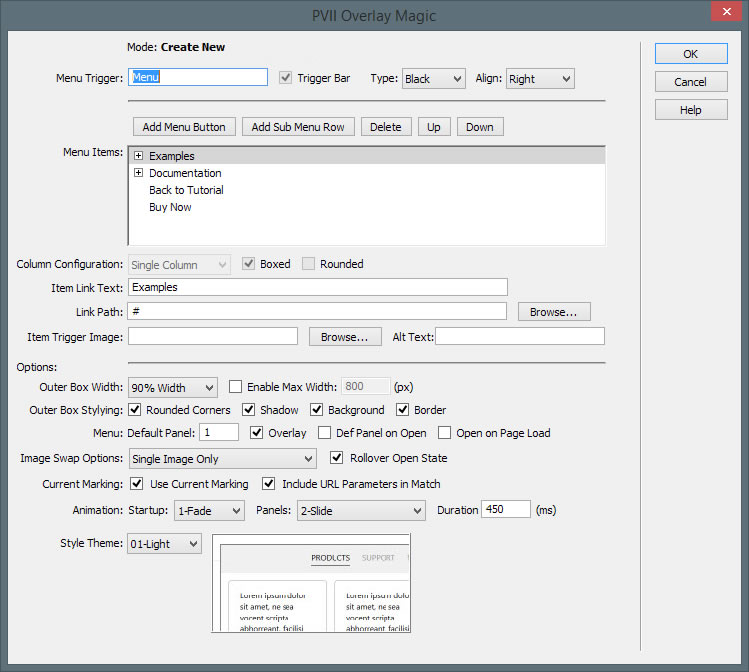
Click OK
That's it.
Coming Soon...
Learn how to set the menu trigger icon to a fixed position so that it always stays on screen—even when the page is scrolled!
Learn how to style the content of your menu!